SELF PORTRAIT PHOTOGRAPHY – STEP BY STEP BTS
WATCH THE VIDEO ABOVE TO LEARN how to take self-portraits. If you prefer to read, just follow this article.
Hi guys! I’m well excited about this post as it’s the first time I explain very carefully how to take self-portraits. This is something many people have asked me during the years but I didn’t have a Youtube channel by then. :D
A self-portrait photography step by step behind the scenes video is now available above. You will learn all the equipment you need, the alternatives you can use if you don’t have the budget, the camera settings and many more insights.
Get a full understanding of how to set up your photoshoot to take incredible portraits of yourself! And it will also help you with your clients’ projects as I talk technique and lighting.
I will summarise below very roughly as this is a visual tutorial. I hope you enjoy the video guys, all comments are welcome at the end of this post or in the video description. I’m always hanging out around here! :)
1. SET UP A TRIPOD
The best ally of self-portraiture. Set up your camera on a tripod to be able to move around freely and frame the scene in your preferred location. If you don’t have one, use the furniture you have around the house. A table, a shelf, or anything that can hold your camera without risking it! :D
Basic tripods or travel ones are very inexpensive. Getting one, will make your life way easier and it’s a good investment if you take another kind of pictures as well. See below the ones I own, they are very affordable and they served me well for many years:
• Basic affordable Tripod
• Very cheap and good quality Travel Tripod
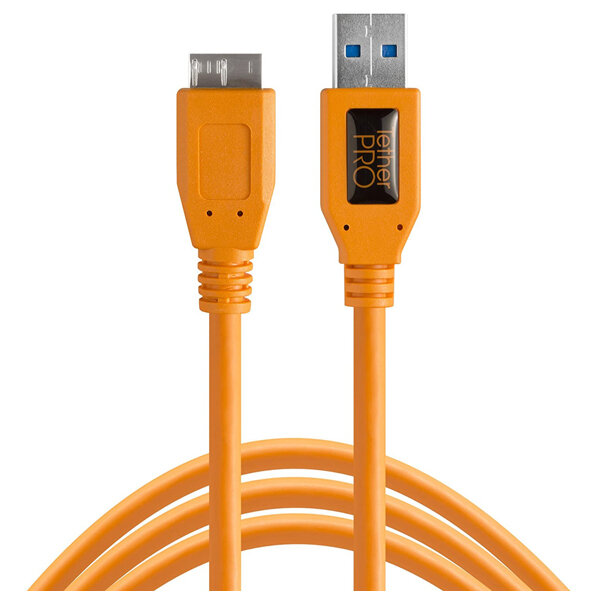
2. TETHER CABLE
Incredibly useful! This is not a must, I didn’t have it myself till years later of practising self-portrait photography and portrait photography in general. However, it’s not expensive depending on your camera and it levels up your photography game by a lot!
This cable connects your camera to the computer and you can see the pictures you are taking while you shoot. Many times we think the pictures are focused on the LCD screen of our cameras and when we see them later on a bigger screen… well…no so focused anymore! :D
As I said, it’s ok if you don’t have it but if you have the budget, this will allow you to check your photoshoot’s process way better. Check properly the focus, the settings, what you need to correct etc. Reviewing every shot during your session on a big screen can make all the difference!
This cable became a must for all my professional work. When shooting with models, artists and product photography, I connect my camera into Adobe Photoshop Lightroom to even preview the presets or the colour grading I intend to apply to every picture. That way I can get a clear view of how the results are going to be in post-production.
3. CAMERA WIRELESS SHUTTER RELEASE
I can’t even explain how much this little item changed the flow of my photoshoots! I was shooting constantly with self-timer and the process was terribly slow. It was very easy to burn out during my projects because I was running back and forwards constantly and I couldn’t focus on the creative process as I should.
This tiny piece of equipment will improve your work IMMENSELY and it’s sooo damn cheap! No excuses! There are many out there so choose the one that gets more your attention.
• This is the one I use: Wireless Shutter Remote Control
4. LIGHTING
What if I tell that you just need one light to create stunning portraits?
I complained for many years because I really wanted to have more versatility in the studio. It’s true that you can play way more with more lighting. BUT, even though I now own a few, I still prefer to shoot with just one! You can create so many different moods if you understand lighting.
The lights I use are the most affordable in relation to their quality. You may find cheaper but they will be quite bad… I decided to go for these options below because even though they are inexpensive comparing them towards others, they still offer very good performance!
Go for the Pixapro flash head if you have the budget. It’s way more powerful and adequate for studio photography but if you prefer something cheaper, the Godox SL60W is a decent continuous light that will give you good results too.
Ah! And don’t forget a good light modifier. This holds the total responsibility for how your skin looks! Choose a bad one and the light will be too harsh in your face making the skin rougher and any defects more noticeable. Choose a good one and your skin will look amazingly smooth!
If you need a lower budget light modifier, this one from Neewer is good for the price! :)
ALL the equipment I recommend in any of my posts, is the one I have, the one I’ve been working with professionally for years and I swear by! So any questions please just drop a comment at the end of this post and I would be very happy to help you decide.


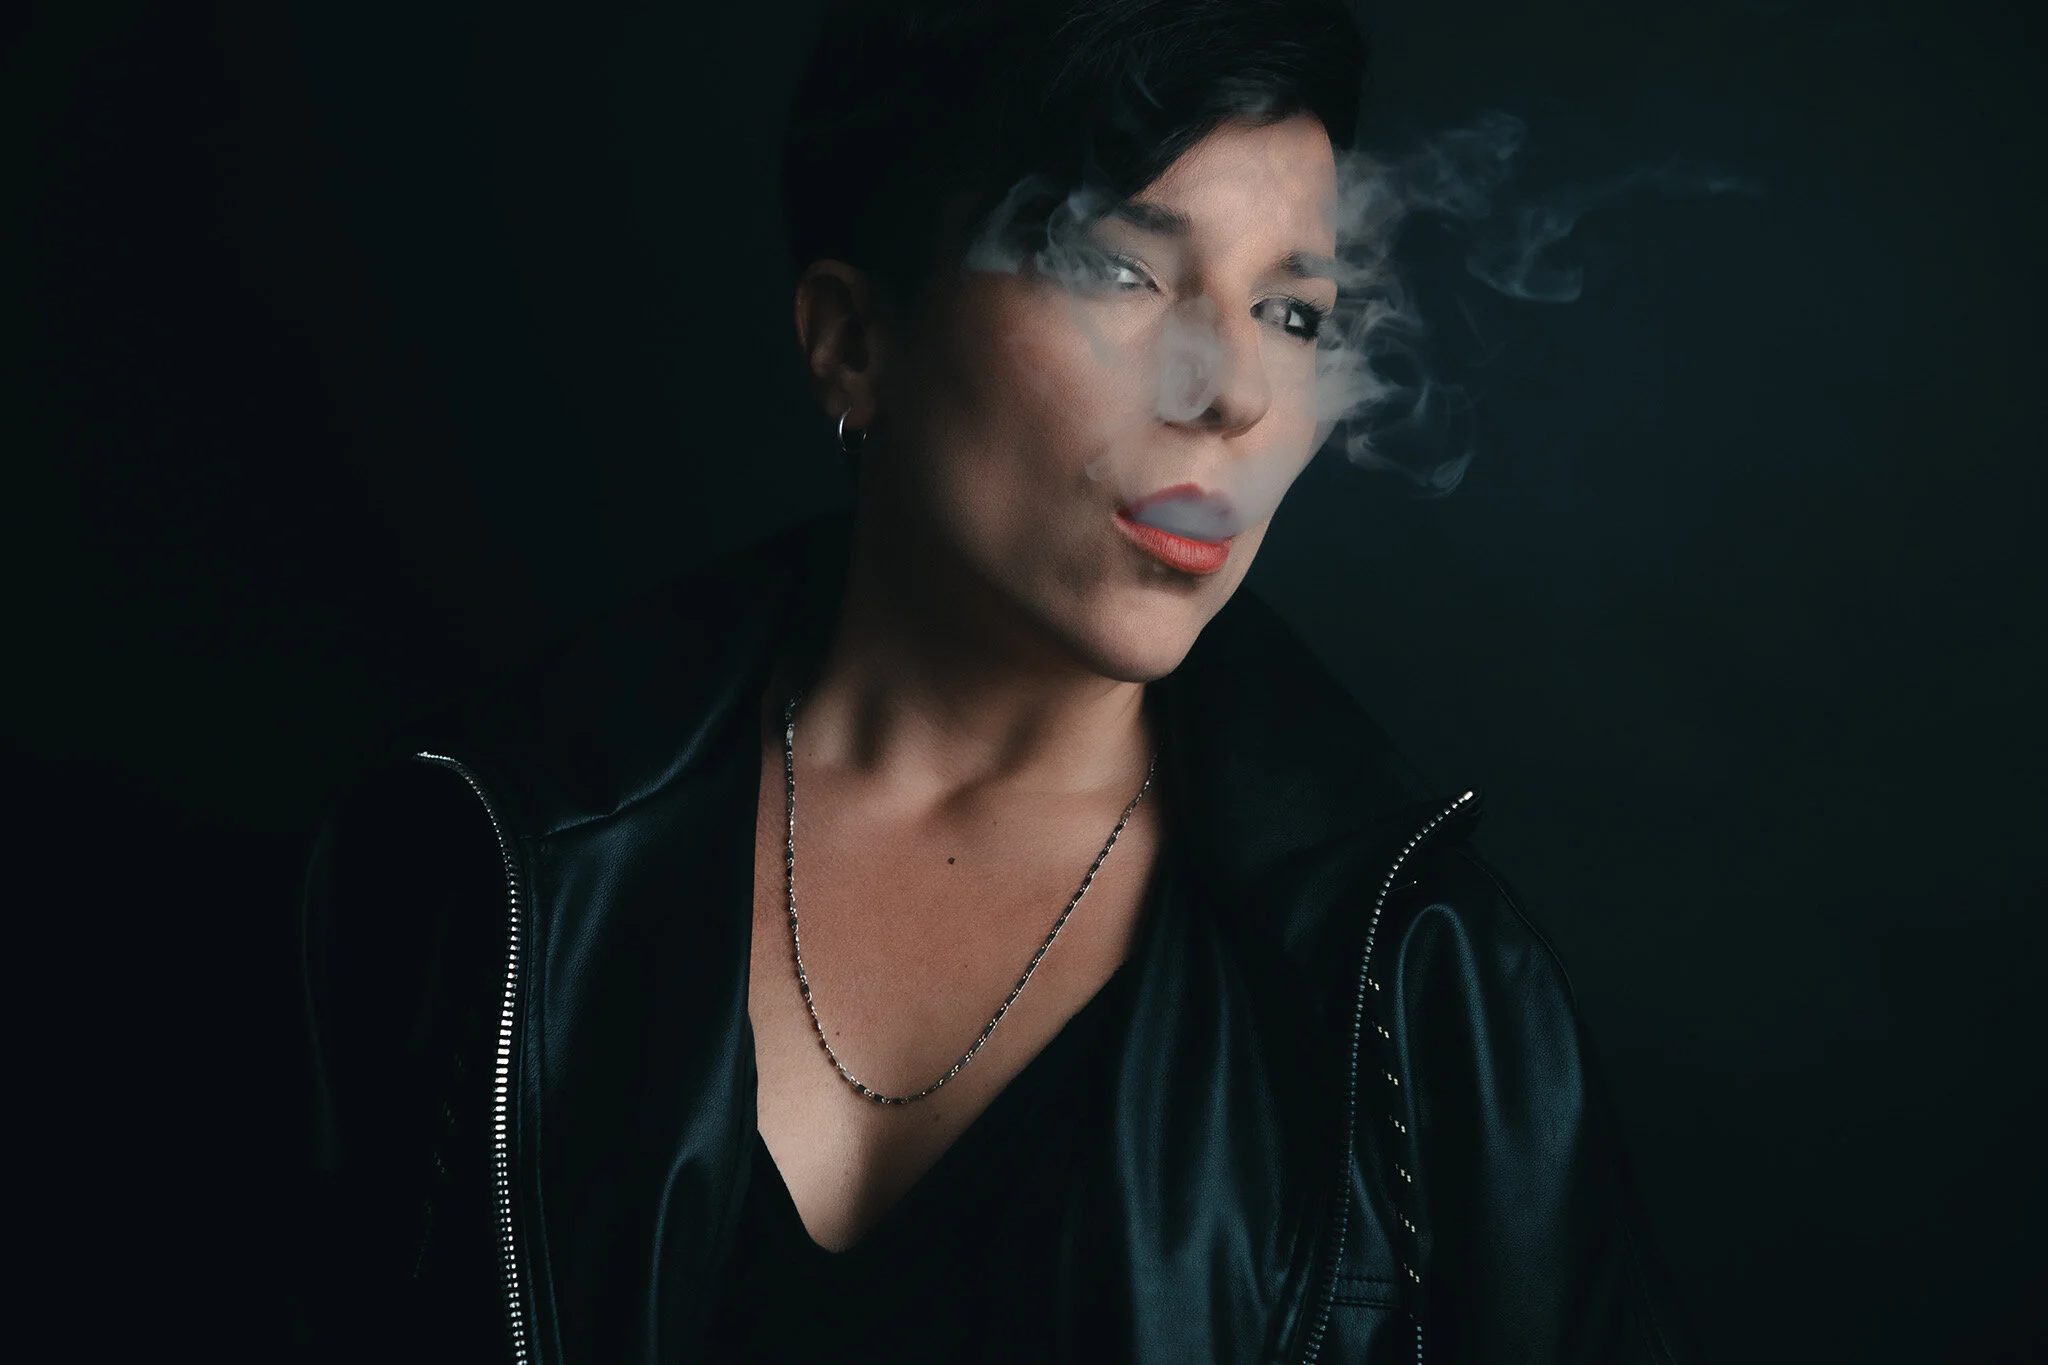

More shots of this photoshoot with the professional light modifier I mentioned above and the PixaPro flash head
5. CONCLUSION
In this article, you’ve found the crucial tips I apply to all my self-portrait work. Also, all the photography gear I use during the video. If you don’t have the budget, use alternatives. I started with just a camera and I’ve got my equipment during all the years that I have been working as a professional photographer. (Over 13! Building your professional equipment takes time, so don’t be discouraged!)
You can still take awesome photos right now with just your camera using the alternatives I talk about in the video.
Thanks a lot for passing by and don’t hesitate to drop me a comment below! I would love to connect and see what are you working on. :)
SOFTWARE I USE TO EDIT ALL MY PICTURES:
• Adobe Photography Bundle: Get the deal here!
• Luminar AI: No subscription AI software. Get it here and use code LAURA at check out!
- YOU WILL ALSO LOVE THIS POST How Self-Portraits Improve Your Photography Work
If you want to know more, check the Youtube video above and Subscribe to my Youtube channel for weekly videos about Photography, Tutorials and Creative inspiration! I hope to see you there!
CHECK OUT MY EDITORIAL COLLECTION LIGHTROOM PRESETS FOR THAT HIGH-END EDITING IN A CLICK!

PIN THIS ARTICLE ON PINTEREST ↓↓
